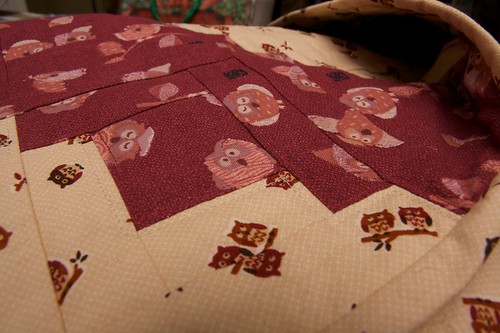
Welcome to my blog, everyone. I've created this site so that I can share some of my projects with you. The first one I'll showcase is my first quilting project! My first project happened to be a baby quilt for my sister, who just recently had a lovely daughter, Anabel. I made the quilt over the summer and gave it to her before Anabel arrived. It was a lot of fun, so I'm sure I'll be making more! I'm already working on my second one right now. It's a slow process for me because I don't have a lot of time for sewing - but it's fun anyway!
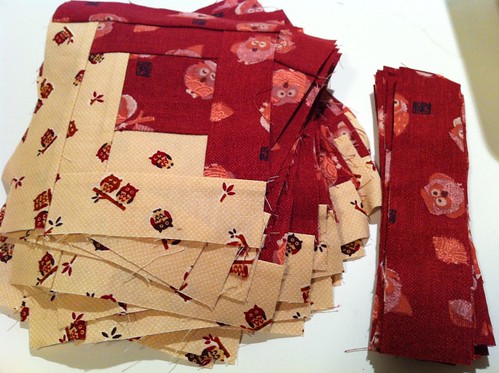
So, onto the quilt project! Here's a sneak peak of some of the fabric:

The quilt I decided to make was a rail fence quilt. Someone suggested
Start Quilting by Alex Anderson as a good book to start out with. As it turned out, the rail fence quilt was perfect for me! It was so much easier than I was expecting, which made the process more fun. The first step, of course, was picking the fabric. I decided to go with a general palette of pink, green, and brown. My wonderful parents were kind enough to go fabric shopping for me on a recent trip to Tokyo, so there are six different fabrics direct from Japan in this quilt! The rest of the fabrics were purchased from
SewMamaSew.com and
Ikea (the backing fabric, which I found on sale for $2.99 per yard, was awesome because it was 59" wide - no piecing necessary!).
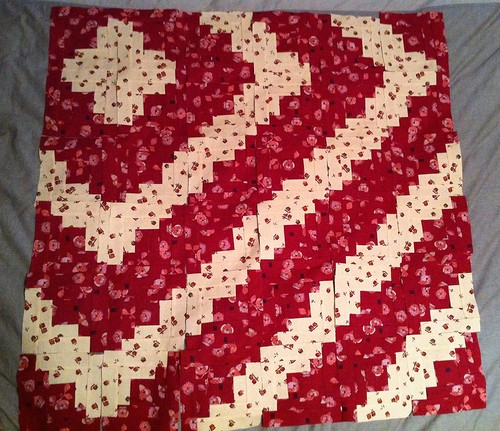
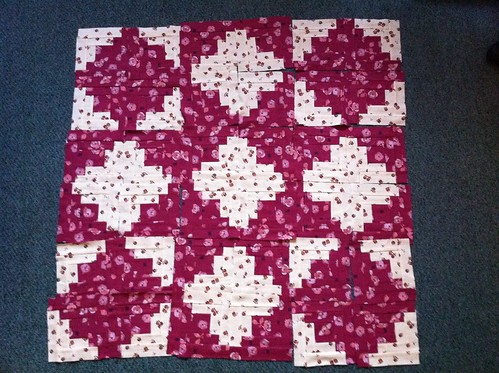
Piecing was easy! Long strips that were sewn

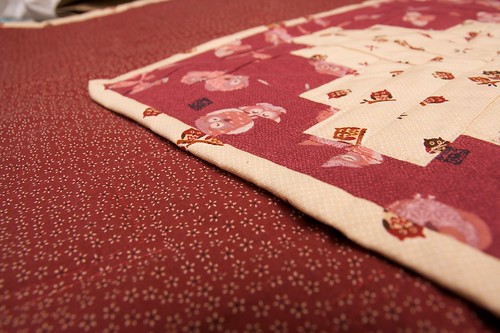
together and then sliced into squares. I'm glad I read the directions for this because if I had done this on my own, I would have cut out each tiny strip and then pieced each square separately! What a waste of time that would have been ... After all the piecing, I had to pick a border fabric. I selected this awesome piggy fabric from Japan.
Of course, it wasn't all easy-going. I nearly had a nervous breakdown at the basting stage. I took the directions I had a little too seriously and it took me 45 minutes to pin about 1/10th of the quilt because I was putting them so close together! I was freaking out a little bit. After some more reading in other books, I determined that maybe I should try thread basting, so I gave that a shot. At the end of my basting process, I had a Frankenstein-like basting job with half pins and half thread - and overall I had spent several hours doing it. Then I started the quilting! This was a fun part of the project ... except for the fact that I was a bit anal and wanted my diamond-pattern to be perfect. I marked out the lines using blue painter's tape - which is a great way to do it, but it did take a lot of time.
After the quilting was finished, it was on to the binding. I got a tip from a quilting friend (check out her blog
here) on how to do the binding and it really helped. Of course, I was following the instructions she gave me and I made a HUGE mistake. I didn't realize this mistake until I had attached the entire binding onto the front of the quilt. What was the mistake, you ask? Well ... I attached the binding upside down ... so when I went to flip it over the edge to hand-stitch onto the back, I had two cut edges, rather than the folded edge! Wow. What a stupid mistake. Of course, I had to rip the whole thing out and start the binding over! Needless to say, I was pretty frustrated at this point. Oh well - I redid the binding, hand-stitched the back side, and it was done! I was so thrilled by the result.

What do you all think? Want to see some more photos? Here they are:

