Tuesday, August 16, 2011

Half-Sour Pickles

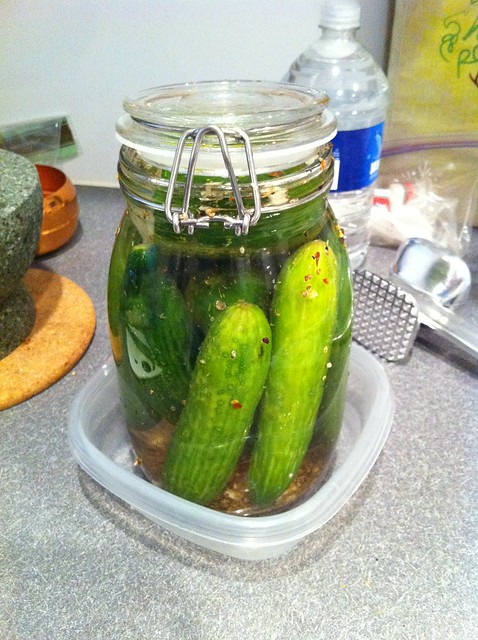
By popular demand (ha ha), here is my post about making half-sour pickles.  I was inspired after having lunch several times at Pumpkin Market in Philly (http://pumpkinphilly.com/market/) to try and recreate the pickles they serve there.  I searched online for "half-sours" and found a blog post at Tommy J's Kitchen (http://tommyjskitchen.blogspot.com/2006/05/recipe-half-sour-pickles.html).  After a little more research, this seemed to be a pretty good way to go.  After a little trial-and-error I've modified the method/recipe a bit to suit my own tastes.  In this post I'll give you a detailed step-by-step method for making these yummy pickles.

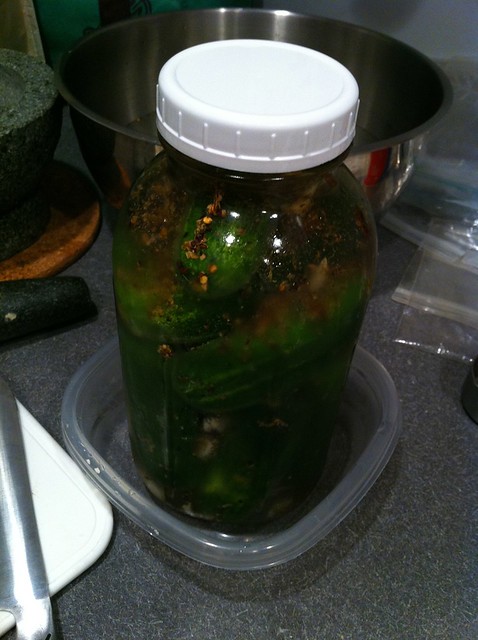
25_LidOn

Also, imagine my delight when a couple days ago, the Tigress posted a very similar recipe on her blog!!  See the link below for her method - you'll see it's similar in some ways, but also very different on the fermentation side of things.  http://tigressinapickle.blogspot.com/2011/08/cool-cukes-quick-easy-ferments.html

I will warn you before we begin that if you make the quantity I am presenting here, the pickles will get saltier and saltier the longer they sit, so if you can't eat this many within about 1 week and you don't like super-salty pickles, then I suggest making a smaller quantity.  You can easily scale the recipe down for a quart or pint-sized jar.

My recipe calls for the following:

Equipment:
1/2-gallon ball/mason jar or similar (if you use a smaller one, just scale the ingredients down)
Mortar and Pestle (or coffee grinder, or zip-top bag and something to pound with)
Bowl of ice water
Knife and cutting board

Ingredients*:
About 2 lb/900g of pickling cucumbers (I use small kirbies - about ten to twelve 3 to 4 inch cukes)
About 1/2 to 1 tsp coriander seeds
About 1/2 to 1 tsp dill seeds
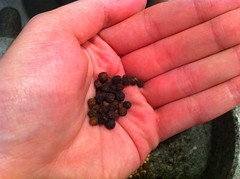
About 1/2 to 1 tsp black peppercorns
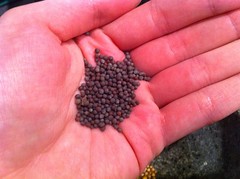
About 1/2 to 1 tsp mustard seeds 
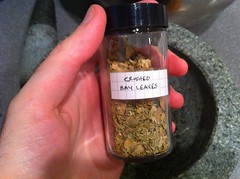
About 1/2 tsp crushed bay leaves 
About 3 or 4 whole allspice berries
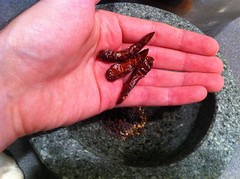
2 or 3 dry red chillies
1/4 cup pickling salt (any "pure" salt such as non-iodized sea salt is fine)
3 or 4 garlic cloves

*(If you have trouble finding any of these spices, try: http://www.myspicesage.com/)


Step 1.
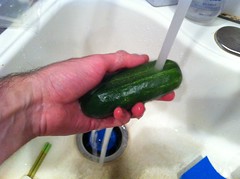
Wash off your cukes in cold running water, scrub them to get all the dirt off.

03_WashingCukes
Step 2.
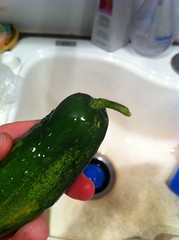
Trim off any stem ends that remain on the cucumbers. These can lead to a bitter taste. Yuck!

04_CuttingStems
Step 3.
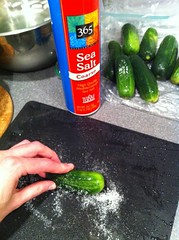
Rub the cukes in coarse salt and then rinse them off.  This step is optional. It can help reduce bitterness and help keep the pickles green.

05_SaltingPickles
Step 4.
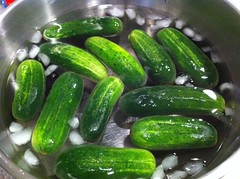
Place the cukes in ice water while you do the rest

06_IcingCukes
Step 5.
Heat up about a half cup of water in the microwave for dissolving salt.

07_HeatingWater
Step 6.
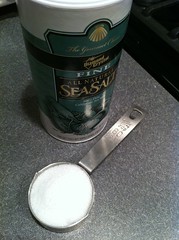
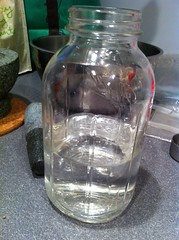
Pour the hot water into your half-gallon jar and add 1/4 cup of pickling salt. Pickling salt is essentially "pure" salt without iodine (which can harm the necessary bacteria). I use fine sea salt.

08_MeasuredSalt
Step 7.
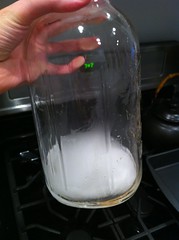
Swirl the water and salt around in the jar to dissolve the salt. Add a little more water if necessary to dissolve the salt.

09_DissolvingSalt
Step 8.
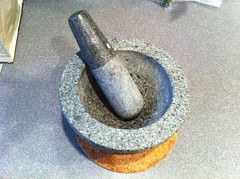
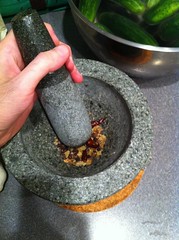
Grab your mortar and pestle to start preparing spices.

01_MortarPestle
Step 9.
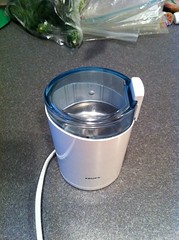
If you don't have a mortar and pestle, use a coffee grinder. If you don't have one of those either, use a zip-top bag and pound the spices with a rolling pin or other heavy object.

02_CoffeeGrinder
Step 10.
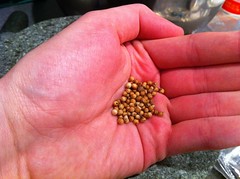
Add coriander seeds to the mortar.

10_CorianderSeeds
Step 11.
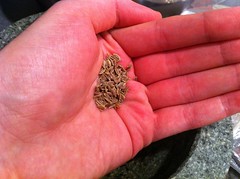
Add dill seeds to the mortar.

11_Fennel
Step 12.
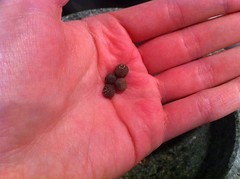
Add allspice berries to the mortar.

12_Allspice
Step 13.
Add mustard seeds to the mortar.

13_MustardSeed
Step 14.
Add black peppercorns to the mortar.

14_BlackPepper
Step 15.
Add dry red chillies to the mortar.

15_DriedRedChillies
Step 16.
Add bay leaves to the mortar.

(Don't you love these easy steps?)

16_BayLeaves
Step 17.
Crush/grind the spices in the mortar and pestle. You don't need to grind to a powder, just break the spices up a bit so they release their flavors.

17_CrushingSpices
Step 18.
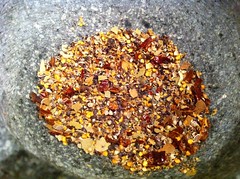
Admire your grinding work.

18_CrushedSpices
Step 19.
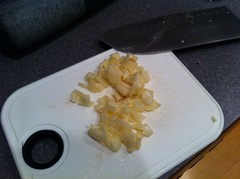
Coarsely chop your garlic.

20_ChoppedGarlic
Step 20.
Add cold water to your salt water (you could use your cucumber iced soaking water).  Only fill the jar about 1/3 of the way up. You want the water to be relatively cool when you start the pickles - between 60 and 80 degrees F.

19_AddingCoolWater
Step 21.
Start adding your pickles, standing upright in the bottom of the jar. When you've formed one layer, add your garlic.  Use chopsticks or a fork to move the cukes around so you can fit as many as possible.

(If you are a big fan of dill, you can also add some fresh dill weed along with the garlic.  I don't add it anymore, but it can be a nice addition.)

21_AddingPickles
Step 22.
Add about 2/3 of the spices.

22_AddingSpices
Step 23.
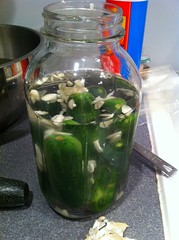
Add the rest of the cukes. You want to make sure none of the cucumbers are exposed to the air, so shove them down in so that they are forced under the curve of the jar mouth.

23_AllPicklesIn
Step 24.
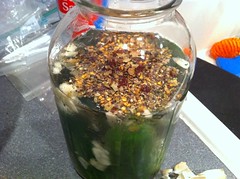
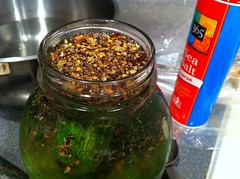
Add the rest of the spices and top off with water so the cukes are fully submerged.

24_FullToTop
Step 25.
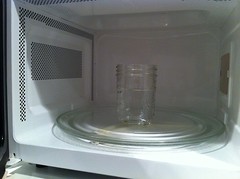
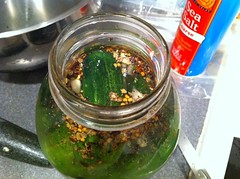
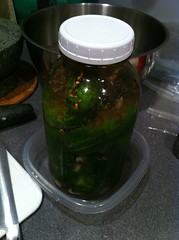
Place a lid on top, but do not tighten it. Put the jar in another container to collect any liquids that might spill out during fermentation.

25_LidOn

Leave your cucumbers on the counter for 24 to 72 hours then tighten the lid and stick them in the fridge. Personally, I like them a little less "pickled", so I let them sit for about 36 hours. For example, I made this batch tonight (Tuesday) and I will put them into the fridge on Thursday morning before leaving for work.

Enjoy!  Let me know if you make these and what you think about them.
Monday, August 15, 2011

Summer Making

So ... my blog hasn't been very active lately, mostly because I haven't been doing much sewing because of the awful heat waves. However, I have been making other things. What has Momotaro been making, you ask? Well, I'll show you.

Jay McCarroll Habitat Challenge Block:

The Philadelphia Modern Quilt Guild held a challenge recently to design a 12-inch block using Jay McCarroll's Habitat fabrics.  Below is my entry.  Sadly, I didn't win, but I think I still like my block.  see the winners at Generation Q Magazine's post.

Pickles:

These are "half-sour" pickles. I've been making them almost every week for a couple months now. Let me know if you would like me to share my process. I believe they are called half-sours because no vinegar is added (vinegar, being an acid, has a sour flavor), so the only acid generated is from lactic acid fermentation.
Half-Sour Pickles

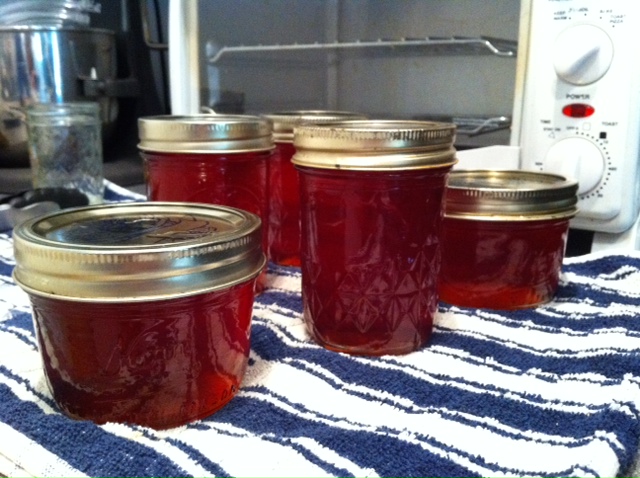
Rosy Quince Jelly:
Based on instructions found on the Food in Jars blog.
Rosy Quince Jelly

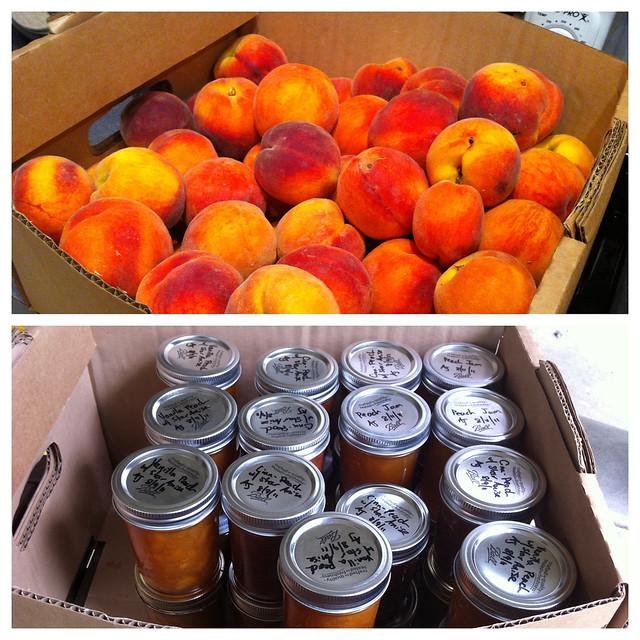
Vanilla Peach Jam with Star Anise and Cinnamon Peach Jam with Star Anise:

We went to Kauffman's Fruit Farm in Bird-In-Hand, PA last weekend and I bought a HUGE box of peaches (see photo below). They were "seconds" so there were bruises and imperfections, but for canning, it isn't all that important (even for eating it isn't so bad, just cut away the bad bits and they are juicy and delicious). So, I'm now working my way through this box (it was probably 20 or 25 lbs of peaches).  I used Pomona's Universal Pectin for this, which I have never tried before.  It gels just about anything, so you don't need to add much sugar, which was nice.  I'm not sure I love the texture of the end result, but the flavor of the jams is good.
Box of Peaches to box of Jam

Peach BUTTER:

I've made apple butter before, but with my peach bounty, I decided to try making peach butter. This peach butter was a pain! I read the info on the Food in Jars blog about doing butters in the slow cooker, so I tried that. I prepared my peaches, pureed them, and threw them in the crock pot. The tutorial said to cook for 8 to 10 hours on low to reduce the volume by half, but after 11 hours (with about 4 hours on HIGH), I had only reduced mine by about 25% and it was 11 PM on Sunday night! So, I had to throw the peaches in the fridge overnight. Tonight I put them on the stove and cooked for a couple more hours until it was relatively thick (when I made apple butter, apparently it was TOO thick, so this time I didn't go so long). I added some sugar but no other spices - I wanted the delicious peach flavor to shine! I think the end result is awesome!

Peach Jam:
This is Chad's favorite and it is a basic peach jam.  The only ingredients were peaches, lemon juice, and sugar.  The jam is not super-set, which is how Chad likes it.  I made him 7 jars - hopefully this will satisfy him until next the next peach season, but maybe not ...
Friday, August 12, 2011

SeamedUP

This is just a quick blog post to tell you about something I am very excited about.  A new great website for quilters and fabric crafters called SeamedUP.com: http://www.SeamedUP.com

The site is still in development, but when it is finished is will be a one-stop site for sewing, fabric crafting, and quilting.  It combines shopping, browsing, learning, friendship, and community all in one.  Best of all, it is FREE to join and you can sign up now even though they are still working on it!

Websites like this are a great asset to the craft, but it takes a lot to put it all together.  The SeamedUP.com team is made up of only two women and they can really use our help.  SeamedUP is currently running a fundraising campaign to keep the site up while they work on it.  Doing this allows them to test it and get feedback from members. But to continue to do this, they need money to upgrade their servers.

The link below will take you to their Indie GoGo fundraising campaign.  Please take the time to visit it, watch the video and read their mission.  

There are many ways you can support this project.  You can donate money, share it on Facebook, Twitter, or Google+, blog about it, add their button to your website, blog or email, leave a comment on the fundraising page, and add it to your Indie GoGo favorites.  I hope you choose to do all of these, but I am asking you to do at least one thing for me - tell people about the Site!

The more people that know about this great idea, the better the chance we will have to use it.

Share it!  Together we can make SeamedUP Happen!
http://www.indiegogo.com/SeamedUPcom?i=emal

Wednesday, July 27, 2011

Mid-Week Sneak Peek: 07/27/2011

Hi, everyone.  I finally had a chance to make some more progress on my zig-zag quilt this weekend.  I haven't been doing much sewing because it's been so hot here and there is no air conditioning in my craft room.  Sad ...  Anyway, here's a photo of the quilt top so far.  Only 3 rows left to sew on!

Wednesday, June 29, 2011

A Night with Jay McCarroll

Shhh, don't tell anyone - but when I first found out about Jay McCarroll's first fabric line, I hadn't heard of him before! Shock, right?! Well, I wasn't a big Project Runway watcher and I had never seen the first season, so I was totally clueless about Jay winning the competition in its first year. As it turns out, I really loved his fabrics, so of course I learned about his past success in fashion design.

I found the first two lines - Woodland Wonderland and Garden Friends - soon after I first started going to Spool in Philly. I then went to see him at a meet-and-greet at Spool and got to see some of the projects made with the fabric. At the time I wasn't a quilter, but now that I am, I appreciate his newest line, Habitat, even more. Jay came to speak to the Philly Modern Quilt Guild last Tuesday night and it was tons of fun! Jay talked about Habitat, Project Runway, and everything in between (and beyond). Jay also was there to announce the Modern Quilt Guild's Habitat Challenge. This is really exciting and I've already started on some block designs! I can't wait to see all the entries.

Enough of the talking, let's get on to some photos!
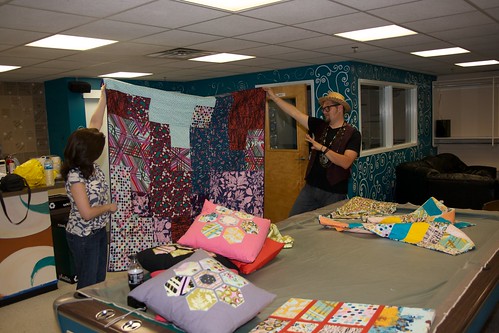
Jay showing off the Skyscraper quilt made by Spool.
Jay hiding behind his fabric board.
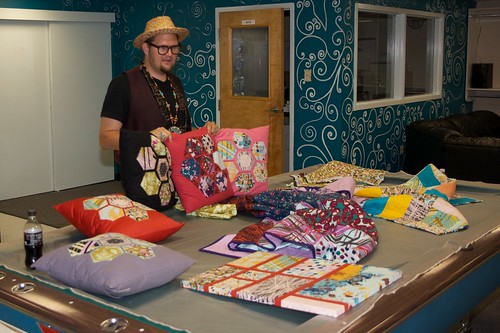
Three pillows showing the three Habitat colorways.
Jay modeling a skirt made by Spool.
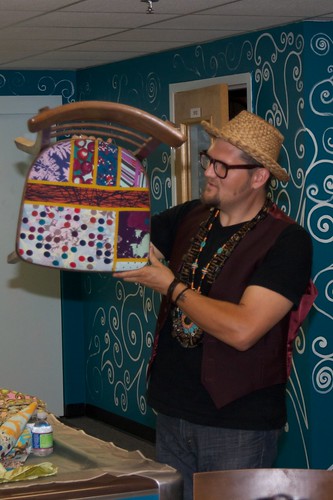
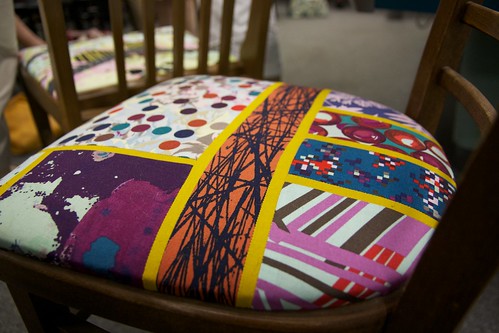
Jay shows off a chair seat that he covered using Habitat fabrics.
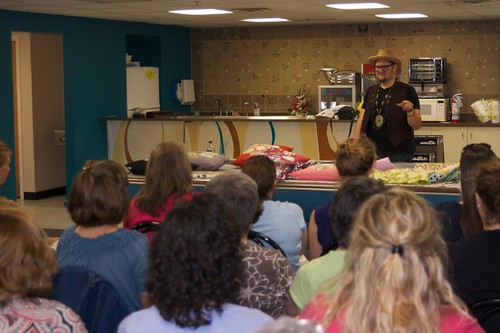
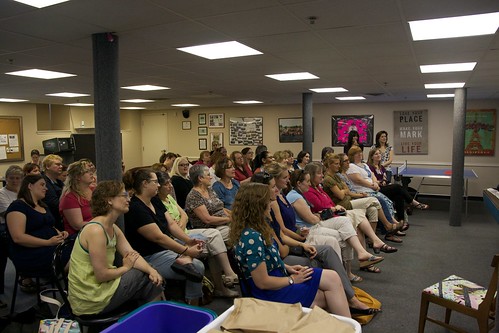
Jay had everyone's undivided attention.
Look how many people showed up to hear Jay speak!
Jay talking about fabric and life.
Closeup on the fabulous chair.
Closeup on the fabrics and quilts.
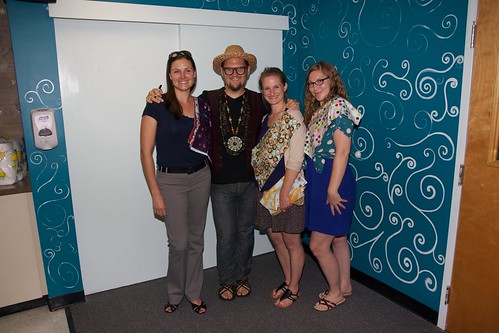
Jay with some new friends.
Me and Jay.  We were starting to get silly - it was at the very end of the night.

Saturday, June 11, 2011

Aria's Baby Quilt

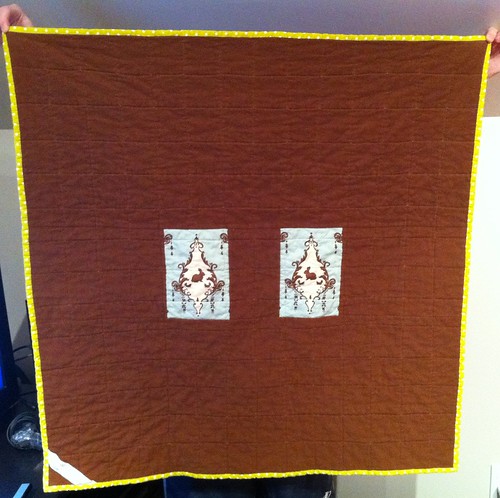
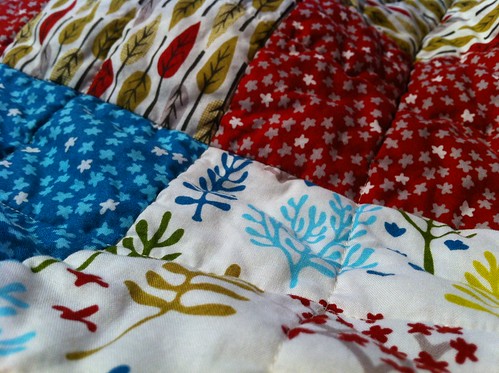
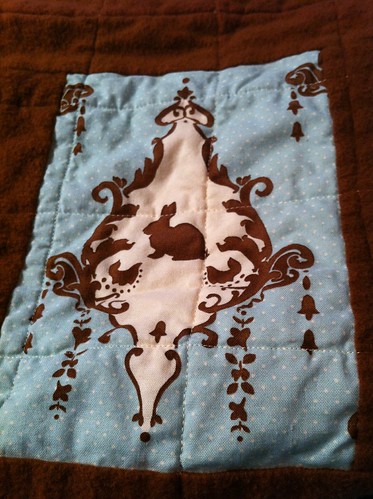
One of my best friends in the whole world, who I've known since my first year of high school in Japan, is having a baby next month!  I'm super excited about it, and of course, I had to make her a quilt for the little one.  Because I know that she and her husband are into nature and hiking and things like that, I thought that the Nature Walk fabric line from Cloud9 was perfect - plus, it is organic, so it is very safe for the baby!  On the back, I really wanted to piece in a couple panels from the blue Lily & Will line because my friend has always had pet rabbits.  Aria's husband also had a pet rabbit when they moved in together, so I wanted the two panels on the back to represent the two of them and how they would always be watching over their little one.  All-in-all, I think it turned out really well.  I was a little worried about my choice of a light green polka dot fabric for the binding, but I think it works. 

I apologize for the low-quality of the photos.  Once I finish a quilt, I am always so anxious to send it out to the recipient, that I never take the time to photograph it nicely.  This is something I'll have to work on ...


Aria Baby Quilt Front
Nature Walk front of quilt.

Aria Baby Quilt Back
Brown flannel backing with Lily & Will panels.

Aria Baby Quilt Front Closeup
Closeup of Nature Walk fabric on front of quilt.

Aria Baby Quilt Back Closeup
Closeup of Lily & Will panel.

Sunday, June 5, 2011

Circa60 Beach Mod Table Runner

I'm really excited to share this project with you!  I think it was the quickest quilt I ever made and I think it turned out really well.  I found out about this fabric called Circa60 Beach Mod by Birch Organic Fabrics earlier this year and I thought it would be perfect for Adina and Steph.  I bought a fat quarter bundle of 9 fabric patterns and then wondered what to do with it.  Adina recently had some pretty nasty surgery, so Chad and I went down to visit over Memorial Day weekend.  I decided on the weekend before that it would be fun to make them a table runner out of the fabric.

On Saturday (the week before going down) I cut all the fat quarters into strips ranging from 1 inch to 3.5 inches wide by the length of the fabric (about 22") and then just randomly sewed them all together into one long quilt top.  The final length was 21 inches by 106 inches.  I sandwiched this with bamboo/cotton batting and a solid orange fabric on the back and then quilted straight lines one per inch.  I attached the binding (I chose a solid aqua fabric that matches the color on the top).  I had the binding attached by Thursday night (we were driving down Friday morning) but didn't have time to do the hand sticthing.  So Chad helped by starting the hand stitching in the car on the way down and we gave it to them not quite finished.  I completed the stitching while we were there and then it immediately went into use!  Check out the photos below to see the quilt.

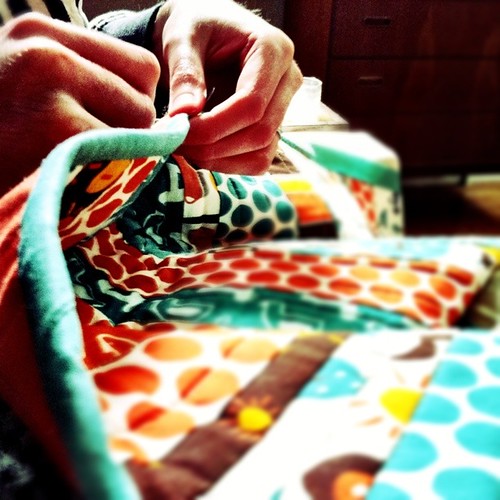
Circa60 Runner Hand Stitching Binding
Me finishing the hand-stitching of the binding.  Photo taken by Adina.

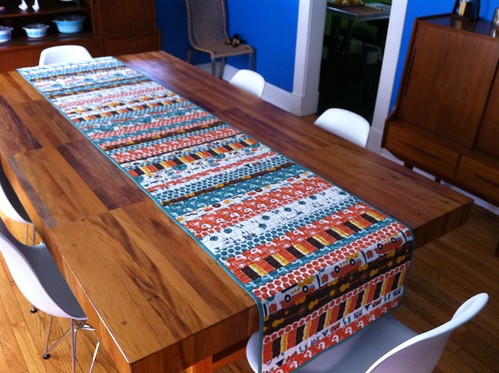
Runner Finished - On Table
The finished runner on Adina and Steph's awesome table.
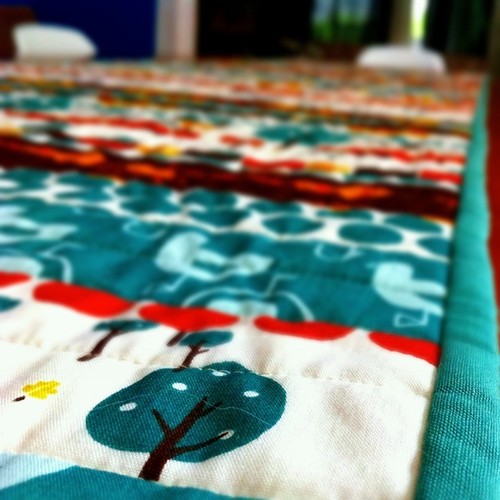
Closeup of Runner 01
A closeup of the quilt front.
Closeup of Runner 02
Another closeup.
Closeup of Runner 03
Another closeup.

As you can see below, we put the runner to good use right away.  On the night that I finished the quilt and put it through the washer and dryer, we put the wonderful dinner spread on it.  Doesn't it look great?

Runner in Use
Dinner laid out on the runner.